A Study Guide to Sugano Sensei’s Five So Tai Dosa Patterns - Yon No Ken
David Scott © 2016
Yon No Ken
This fourth pattern is like Ni No Ken but it starts with the first cut by oshiete after mikiri coming down on the ura side. Perhaps again emphasizing the idea that oshiete can freely move either omote or ura. The sequence of movements in Yon No Ken essentially reverses the sides (omote and ura) compared with how they are sequenced in ni no ken. There are other differences however. The pattern of engagement (defined in terms of ai and gyaku hanmi) is different. In Ni No Ken oshiete makes a change of hanmi when manabite forces them to make distance just prior to oshiete’s final cut which they make by stepping forward on the right from left hanmi. In Yon No Ken however, oshiete remains in right hanmi throughout the pattern and ‘moves back’ (without stepping) at this point, so that they are in right hanmi before making their final cut also in right hanmi. The final cut (kiri tsuke) by manabite in Yon No Ken is on the ura side whereas it is omote in Ni No Ken. In Yon No Ken and Go No Ken Sensei said, you are “exercising ura”.
Clip 8. Yon No Ken
Yon No Ken
Oshiete and manabite both start in right hanmi with their bokken in the middle (chudan) position and their kissaki about one open hand width apart.
Manabite breaks maai with a ‘tsuki’ like movement and makes kiri tsuke in right hanmi.
Oshiete drops point and moves back allowing manabite the practice but then moves back again (mikiri) out of range of manabite’s kiri tsuke which stays high. Oshiete remaining in right hanmi, returns kiri tsuke on the ura side.
Manabite steps back into left hanmi to parry ura. Engagement at this point is gyaku hanmi.
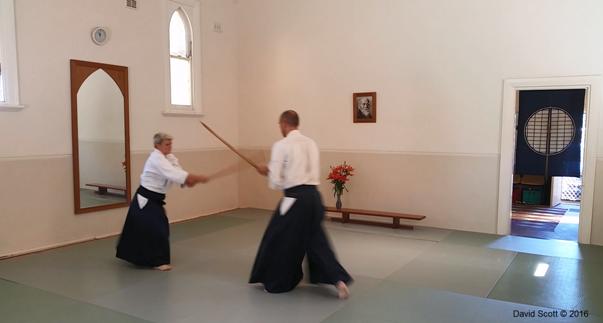 Picture 11. Yon No Ken – Oshiete returns kiri tsuke on ura side, Manabite changes into gyaku hanmi
Oshiete moves forward in right hanmi to make tsuki to omote.
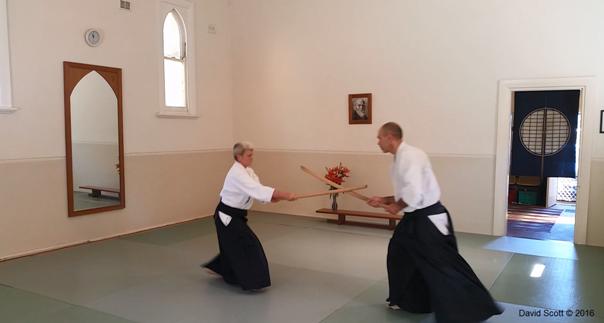 Picture 12. Yon No Ken – Oshiete makes tsuki to omote
Manabite changes hanmi by stepping back on their left to parry omote in right hanmi. Manabite then moves forward remaining in right hanmi extending their bokken pointing their kissaki toward oshiete’s throat and encouraging them to make distance.
Oshiete moves back remaining in right hanmi to parry this extension omote with hanmi. Engagement here is in ai hanmi.
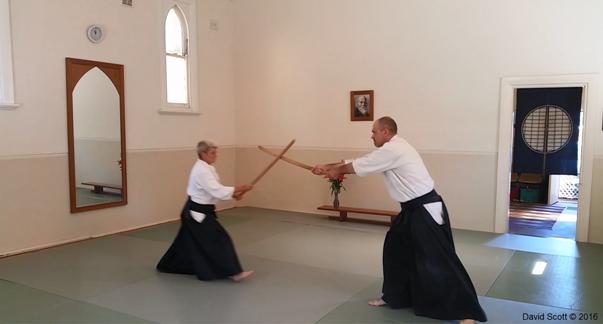 Picture 13. Yon No Ken – Manabite makes distance by pointing their kissaki toward oshiete’s throat
Manabite has their bokken extended forward and they move back remaining in right hanmi and returning their bokken to the middle (chudan) position before rising up to jodan to invite an attack.
Oshiete moves forward to strike kiri tsuke in right hanmi.
Manabite also in right hanmi (engagement is in ai hanmi) moves their back foot (left) to the left and then steps forward on their right foot to strike kiri tsuke ura in right hanmi (killing the teacher).
 |
 |
|
 |
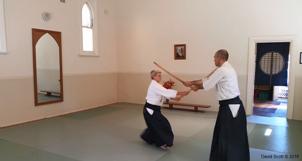 |
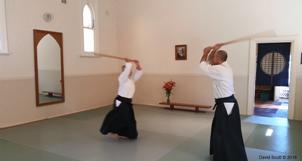
Picture 14. Yon No Ken - ending
| Next Chapter: Go No Ken |